Today is an article about installing and connecting spotlights to the ceiling: theory and practice, subtleties and tricks.
There is not much to say about merit. First of all, it is an opportunity to realize any designer's idea and save space by hiding a light bulb and a lamp in any cavity, which are many in a modern apartment. For example, suspended, stretch, plasterboard ceilings, hollow partitions.
These lamps are called spotlights because they represent a point source of light (spot - spot). Unlike chandeliers, sconces, linear fluorescent lamps, which occupy a certain volume in the room.
The following types of lamps are used in spotlights:
- Halogen as well as incandescent. The cheapest lamps.
- Compact fluorescent (CFL).
- LED bulbs.
The last two types of lamps are the most preferable, of the minuses they have - basically only the price, of the pros -
- low heat,
- low power consumption (power consumption),
- no need to think about transformers and,
- long service life, especially for LED.
The most common sockets for lamps for spotlights are with two pins (type G).
Preparing for installation - laying the wire.
If there are a lot of lamps and they are separated from each other at a small distance (40 - 50 cm), then it is enough to lay a wire to the first of them. This is done before the installation of the ceiling. Then, after installing the ceiling, the wire is pulled from point to point.
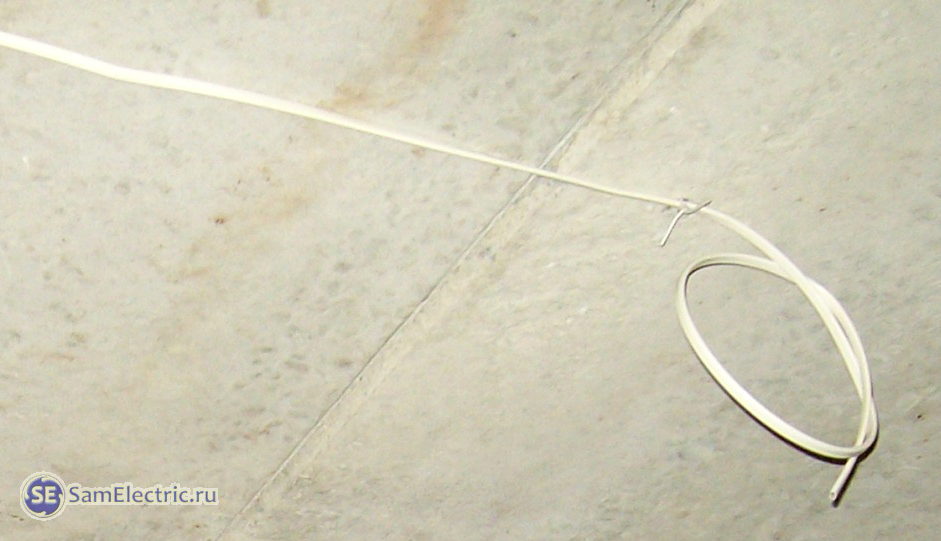
Which wire to choose? From the point of view of connecting to the socles - multi-core flexible. From the point of view of reliability and quality of installation - the same as in all wiring. Usually it is hard (or soft) copper, for example VVG-3x1.5, SHVVP or PVA.
If a step-down transformer is used, there is one important subtlety. With a low supply voltage for halogen lamps (usually 12 volts), the voltage drop across the wires is essential. For those who are interested in the details - article. And here I will say that the wire should have a cross section of at least 1.5 sq. Mm, and preferably 2.5. And the length of the wires to each light bulb must be the same so that the voltage drop is also the same.
In any case, it must be laid in such a way that later it would not be excruciatingly painful to look for ends at the connection stage. About the connection of spotlights will be discussed below.
Making a hole for a spotlight
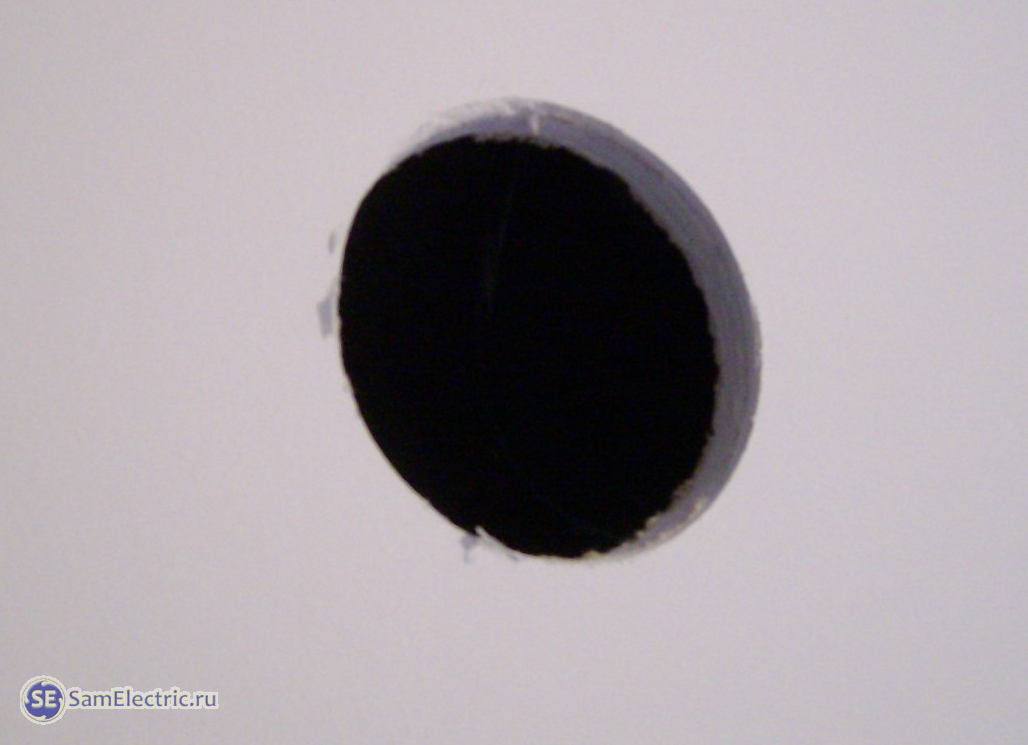
In order to install a spotlight in a plastic or plasterboard ceiling, it is necessary to cut a hole of the appropriate diameter under it. The diameter of the hole for a spotlight is usually written on the packaging of the lamp, but it will not be superfluous to measure it once again.
Most popular hole sizes for spotlights - 75 mm and 60 mm. Accordingly, in order to cut a hole for a spotlight, you will need crowns with a diameter of 74-75 and 59-60 mm. Irregularities and distortions are acceptable, expanding the hole in some places by 3-5 mm.
Suspended ceiling type Armstrong does not require a crown - just use a clerical or penknife.
Stretch ceilings are a different story - there all the holes, their diameter and location are laid at the design stage of the ceiling. Thermal rings are installed to prevent overheating of the ceiling film from heating the lamp. Thermal rings also provide mechanical strength to the installation site of the lamp, I wrote about this on My Electrician in an article. It is necessary to immediately take into account the power of the lamps to be installed, their number, "crowding".
This point needs to be discussed in detail. There was a case when a customer asked for 6 halogen lamps in a bathroom with an area of about 2.5 m2. The company that made the ceiling assured that the thermal rings would prevent overheating, and halogens could be installed.
As a result, the ceiling had to be changed - the film around the rings melted after a few hours of burning the lamps :(. And put LED bulbs, although this is several times more expensive.
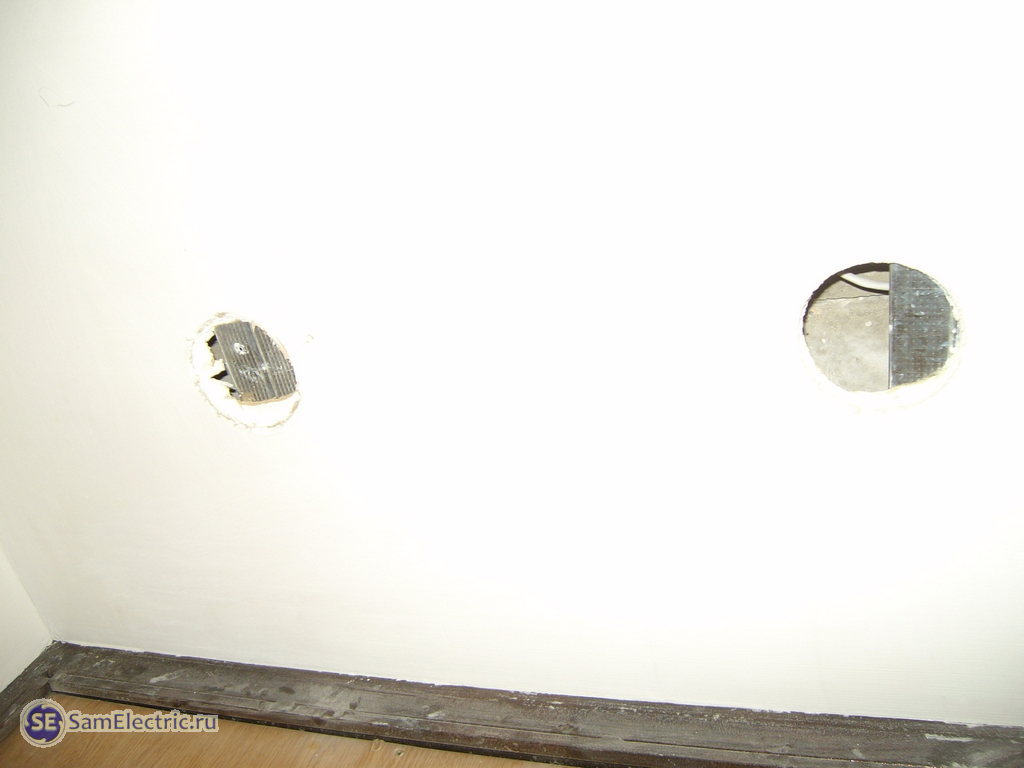
It happens that when cutting a hole for a lamp with a crown, there is such a failure:
It is then difficult to fix it without damaging the ceiling. Especially if the ceiling is curly, stepped and already painted.
In this case, up to 20% of the slot area can be closed, the lamp can already be installed.
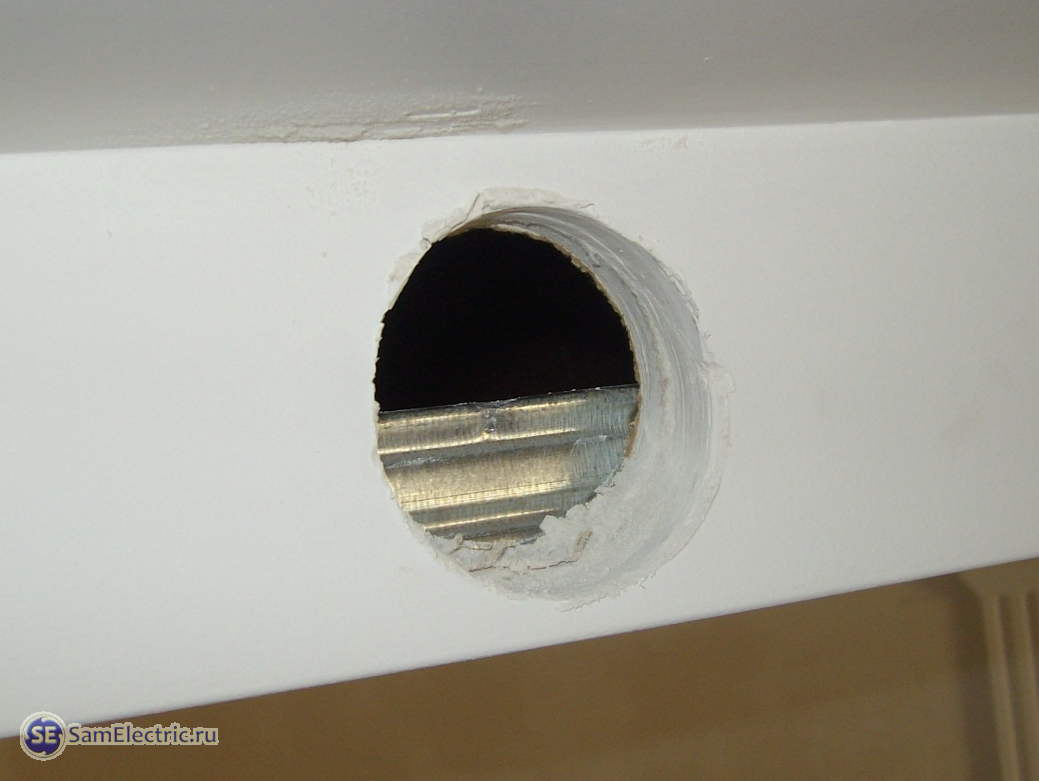
It gets even worse:
Undoubtedly, such situations spoil the nerves, the instrument, the hands. Here you need to understand the design of drywall fasteners, be present at the installation stage, or enter into an agreement (labor) with drywall workers so that they put marks or make holes themselves.
There is a smarter way - use search magnet. This method is more versatile and preferred.
After that, the ceiling can be finished - painted, glued, etc.
Installation of spotlights in drywall
Installation must be carried out after painting or pasting the ceiling. This is a clean job, after us no one will correct the flaws.
Maybe this will be interesting:
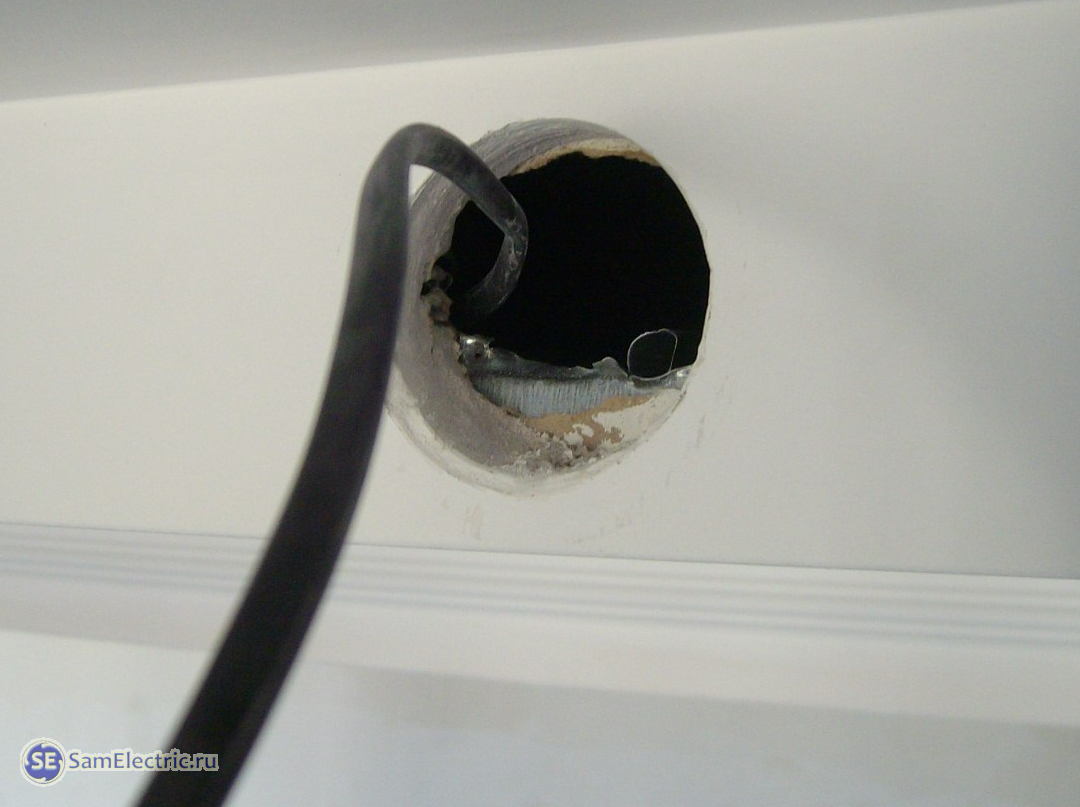
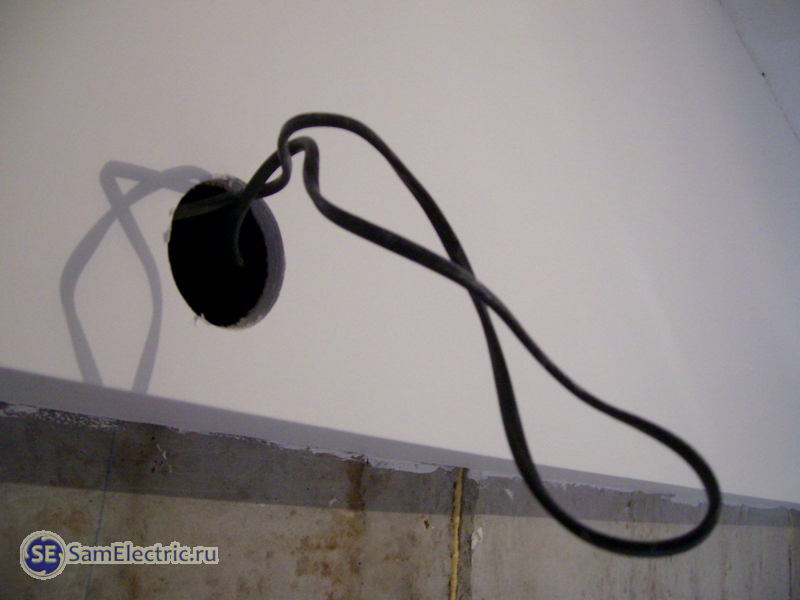
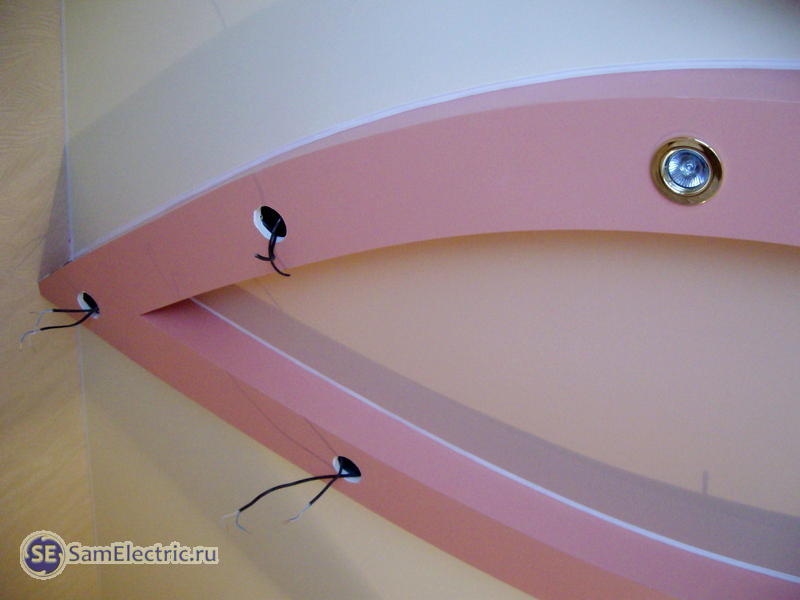
We start by laying a wire in each hole.
Then we proceed to the actual installation of the lamp itself. It has special clips-antennae-springs that hold the lamp on the ceiling. It is necessary to bring them together, then insert the lamp into the hole in the ceiling, and then they will disperse, pressing the lamp.
All this is somehow inconvenient. In addition, you can damage an expensive ceiling, especially if the springs are strong, and the lamp did not get into the right place the first time, and you have to move it.
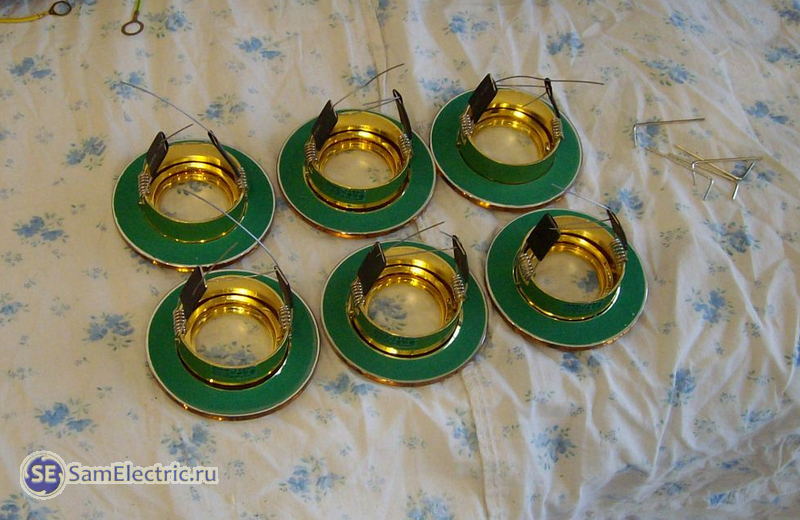
Therefore, I propose such a know-how, or a chip. The antennae are brought together “on the ground” with a technological piece of wire, which is then cut in the ceiling. Here is a photo:
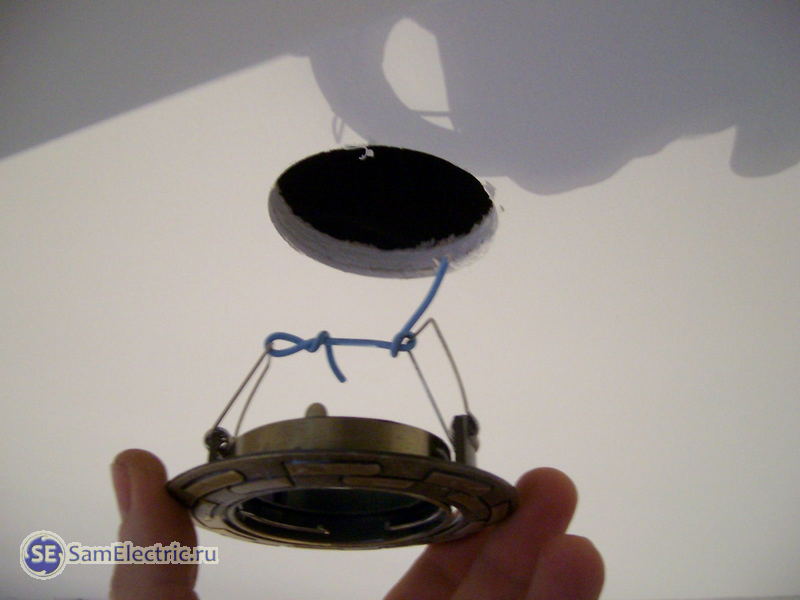
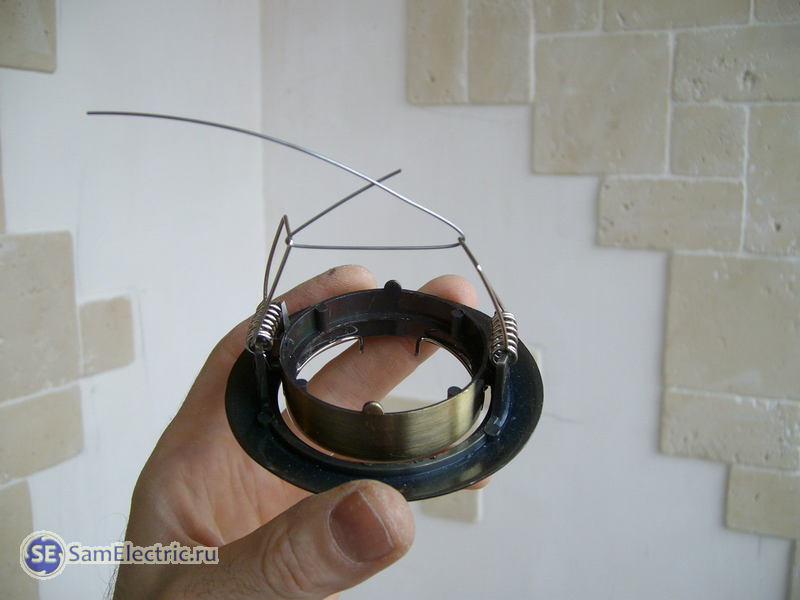
Installation trick - technological jumper
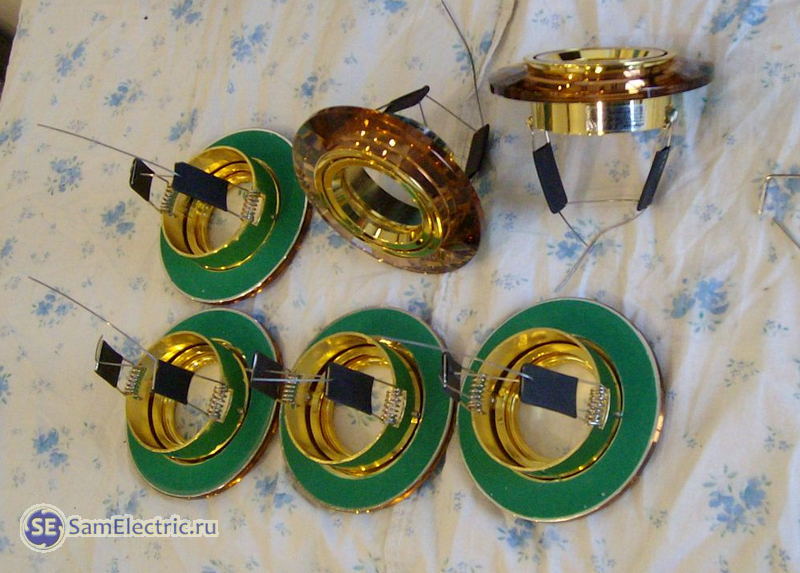
Chip during installation - technological jumper
Such a device is convenient when many expensive lamps are placed in an expensive ceiling, when it is undesirable to scratch and smear it.
We carefully install the lamp in place, then we act with wire cutters and - click! - the lamp stands as it should without problems and effort.
The jumper is best made from a rigid insulated wire. Rigid uninsulated (as in the photo - this is a steel broach from the corrugation) can damage or short something.
Connecting spotlights
Connecting spotlights means connecting a base with flexible leads to our mounting wire.
Connecting spotlights - in progress
Of course, this connection scheme is not entirely correct - it is better to make all connections in the junction box, and connect a separate wire to each lamp. But the photo shows real life (connection with a loop), when the customer came up with such figured ceilings after laying the wires and installing the boxes.
So, we install the lamp, as shown above, and make connections using. I love these terminals very much, they are very convenient to connect different types of wires - copper + aluminum, thick + thin, flexible + hard.
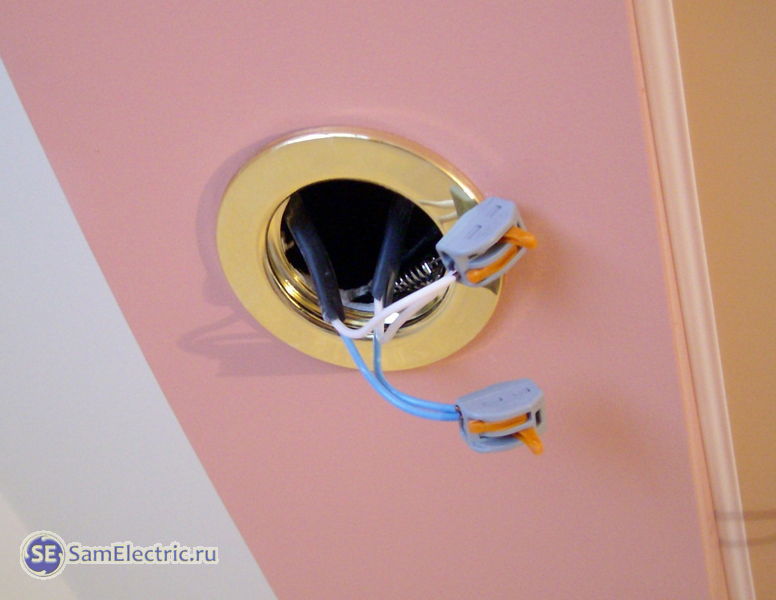
Connecting a spotlight - to the Vago terminal blocks
We connect the connector (cartridge) under the G5.3 base.
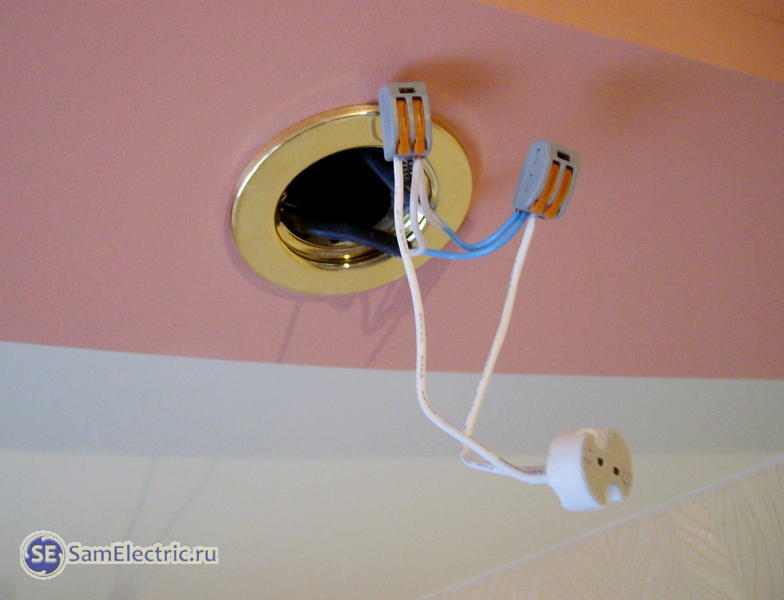
We dress the cartridge on the lamp, insert the lamp into the lamp, and fix it with a latch.
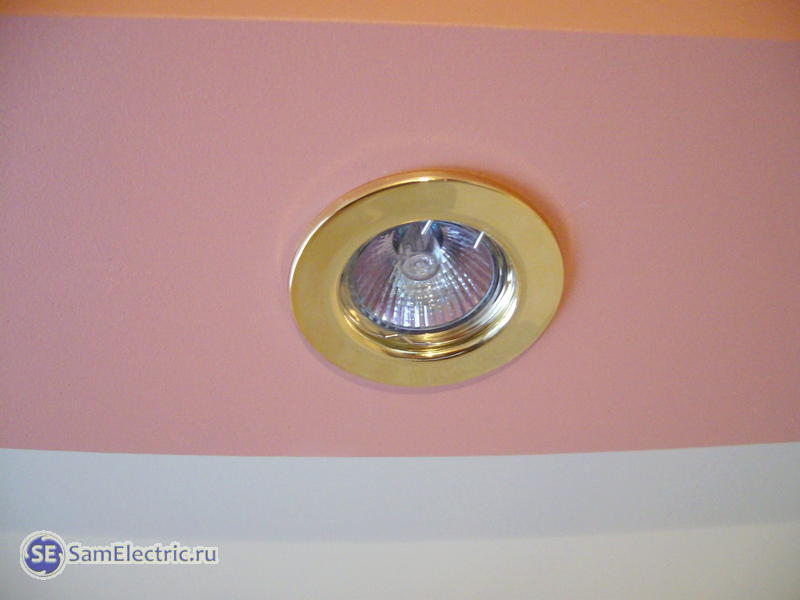
That's all. It is also worth saying that it is preferable to use step-down electronic transformers for halogen lamps and from burnout at the moment of switching on.
An example of a transformer that can be bought very cheaply in China is transformer 12V 60W. I recommend you just have to wait...
For halogen lamps can also be installed. This partially compensates for the shortcomings of halogens - the lamp burns out at the time of switching on, heating, high power consumption, short service life.
In conclusion - photographs illustrating the use of spotlights in ceilings.
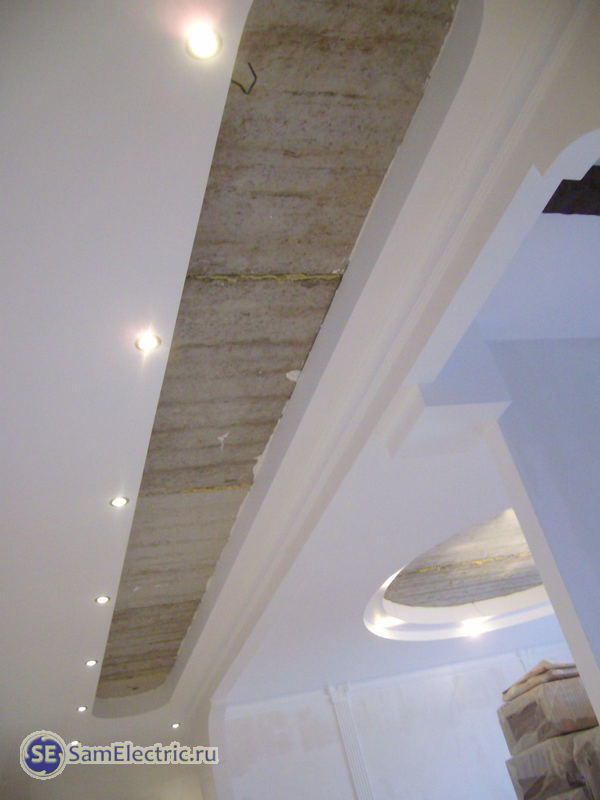
Ceiling with spotlights. Photo 1
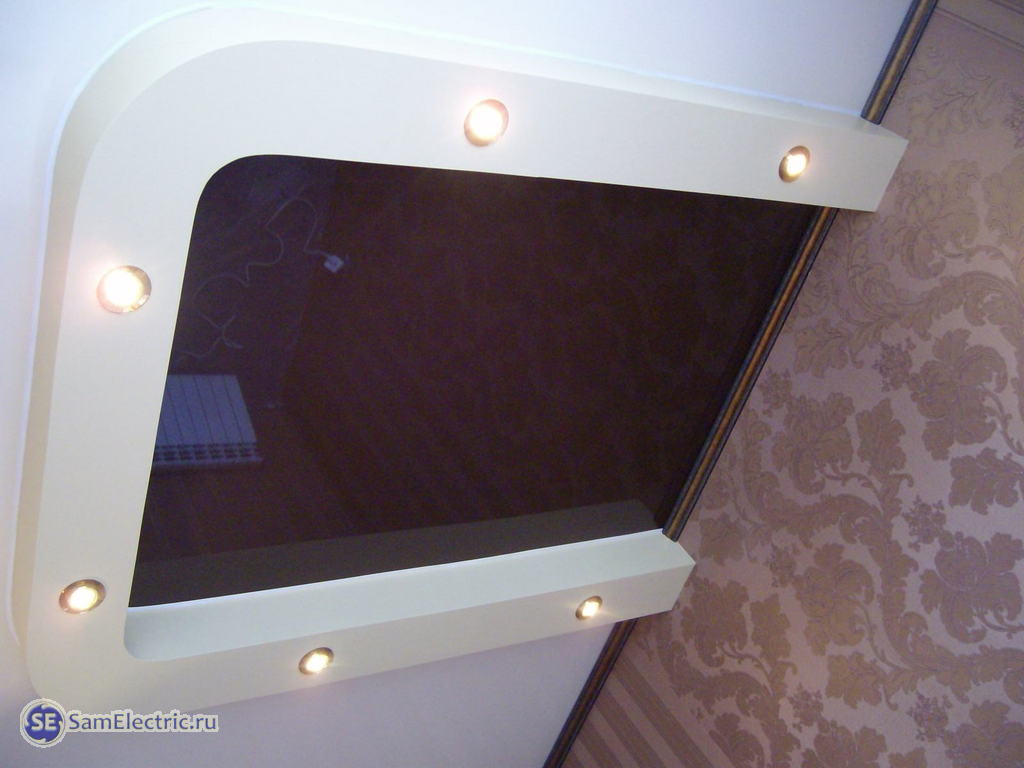
Ceiling with spotlights. Photo 2 (this is the ceiling))
If you need an electrician, and you are in Taganrog - ready. Contact me for a free phone consultation.
That's all I wanted and could tell about installation of spotlights. If something is not clear or there is something to add - ask and write in the comments. If you are interested in what I will publish on the SamElectric blog next -