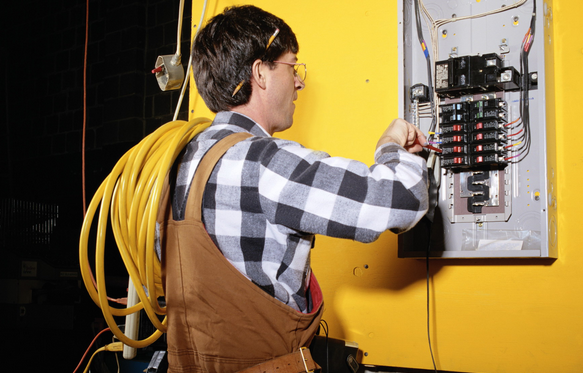
The main measuring device for electricity consumption in an apartment is an electric meter. As a rule, the installation of this type of metering devices is carried out by masters of a narrow profile (electricians) with experience, knowledge and relevant qualifications. However, if there is a desire, this event can be held independently. The main thing is to first familiarize yourself with the rules for installing an electric meter and prepare the necessary materials.
Important ! Strict adherence to the instructions when connecting meters for electricity metering allows you to eliminate any negative consequences during its operation. You need to understand that when installing an electric meter with your own hands, all responsibility for accounting errors lies with the owner of the apartment.
Types of counters
According to the type of mechanism, electricity meters are electronic and induction.
To date, induction-type electricity meters are gradually leaving the market. By order of the government, it is forbidden to use this type of meter, since it is believed that such a meter is very easy to “wind up”.
Counters with an electronic mechanism are distinguished by the highest accuracy, compact size and versatility of use. It is also worth noting that it is the electronic electricity meter that can be operated in a multi-tariff mode. This property will be appreciated by consumers of those regions where electricity tariffs vary depending on the time of day.
When choosing between induction and electronic electricity meters, an electronic type meter has an undoubted advantage.

Is self-installation of an electric meter legal?
You can handle the installation of an electricity meter without any problems on your own. But before you get down to business, you must definitely obtain permission from the relevant services. To this end, contact your local network provider office and request that you be given a statement of work to carry out the work. In the same organization you will be able to conclude the necessary contracts.
According to the current regulations, the owner of the house can install electricity meters within the capacity of his consumer networks. The best location for the electric meter will be a heated distribution meter in the apartment. But in recent years, a requirement has been made that the electric meter be installed only outside the apartment, and the representatives of the inspection organizations have free access to them.
Also, a representative of the local power company may require that the electricity meter be mounted on the outside wall of the building. Each of the proposed options can always be discussed individually. For apartment owners, there are requirements for placing an electric meter in the general electric meter on the floor area.
The official version of energy companies, according to which they force homeowners to install electricity meters on street poles, is to ensure unhindered access of company employees to the electricity meter in order to take readings and carry out routine repairs.
According to the unspoken version, forcing the installation of electricity meters outside the dwelling, energy suppliers are trying by all means to prevent hacking attempts.
Electric meter connection diagrams
For an ordinary person, far from installing an electrical network, it is not at all necessary to know the complex schemes for connecting an electric meter. It is quite enough to understand how you can easily and quickly connect an electric meter.
The simplest and most popular installation method is to connect an electric meter in a single-phase circuit. You need six wires to work. Phase, ground and zero cables are connected to the meter input. Similar actions are carried out at the output of the counter.
Rules for installing the meter
When installing an electricity meter, it is very important to comply with a number of specific requirements and rules. First of all, they relate to safe operation techniques, which is always relevant for electrical appliances.
It is not recommended to install metering devices if the ambient air temperature is below 0C. Electronic boards do not tolerate low temperatures and failures may occur in the overall system. For a large number of modern metering devices, low air temperature during installation is unacceptable. The best option is the air temperature in the place where the meter is mounted, about + 5C.
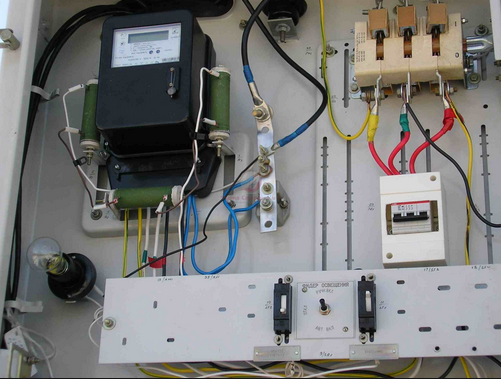
The main stages of connecting the electric meter
Do-it-yourself installation of an electric meter takes place in several stages:
- Select the necessary tools and materials. You will need:
- electricity meter;
- protective shield;
- insulating elements;
- fasteners;
- DIN rails;
- voltage sensor;
- automatic switches.
- Be sure to specify how many phases the power grid has in your home. Based on this, calculate the required number of circuit breakers.
- Install the electricity meter in the shield. For its installation, you can use special fasteners.
- Mount protective shutdown sensors (plugs). They are attached to a DIN rail, which is pre-installed on the post insulators. The machines are fixed on the rail with special spring-loaded latches.
- Mount the protective and earth bus in a common shield. Busbars must be placed at a sufficient distance to avoid cable short circuits.
- Connect everything to the load. The phase is connected to the lower terminals, the neutral to the neutral bus, the ground is connected to the corresponding ground bus.
- Connect the upper clamps of the machines with jumpers. This item can be purchased in specialized stores.
- Connect the electricity meter to the load. To do this, connect the phase output to the upper terminals of the automata, the zero output to the zero bus.
- Mount the electrical box on the wall. The height should be such that the operation of the electric meter is comfortable and unhindered.
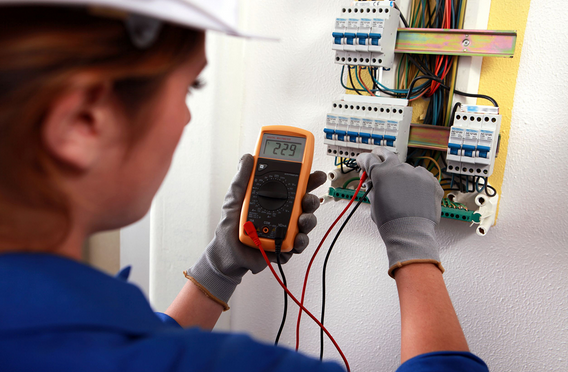
- Identify neutral, phase and ground cables. To do this, use a special indicator.
- Turn off the electrical power in the house.
- Connect the phase cable to the first terminal of the electricity meter. Zero must be connected to the third terminal.
Conclusion
Considering all the steps that you need to go through when connecting an electric meter with your own hands, it is worth noting that there is nothing complicated in this work. The main thing is to clearly follow the sequence of events, and adhere to the compliance of the parameters of the electricity meter with the parameters of the network in your home. It is also necessary to carefully understand the network wiring diagram and the connection diagram of the electric meter with the network at home, in general, and with apartment consumption in particular.
If you decide to replace the old meter, then the following video will help you understand how to change the electric meter in an apartment in no time